

A well-prepared crop bed is the foundation for a bountiful harvest. Whether you’re a seasoned gardener or just starting out, taking the time to properly prepare your soil sets your plants up for success. This guide will walk you through the essential steps, from choosing a location to enriching the soil and creating the perfect planting surface.
Step 1: Choosing the Right Location
- Sunlight: Most vegetables need at least 6-8 hours of direct sunlight daily. Consider the sun’s movement throughout the day and choose a spot that gets sufficient light for your chosen crops.
- Drainage: Good drainage is crucial to prevent waterlogging and root rot. Avoid low-lying areas or soils that are heavy clay. Raised beds can be a good solution for poor drainage.
- Accessibility: Make sure your bed is easily accessible for weeding, watering, and harvesting. You don’t want to be climbing over obstacles to reach your plants.
- Crop Rotation: If you’ve used the same area for gardening before, consider practicing crop rotation to avoid disease and maintain soil health.
Step 2: Clearing and Amending the Soil
- Remove Existing Growth: Start by clearing away any debris, weeds, and previous crops. Compost them if possible, or dispose of them responsibly.
- Test Your Soil: Conduct a soil test to determine the pH level and nutrient content. This will help you decide what amendments are needed.
- Loosen the Soil: Use a shovel or broadfork to loosen the soil to a depth of 8-12 inches. This improves aeration and root penetration.
- Add Organic Matter: Incorporate compost, aged manure, or other organic matter to improve soil fertility, drainage, and water retention. Aim for 2-4 inches of organic matter spread evenly over the bed.
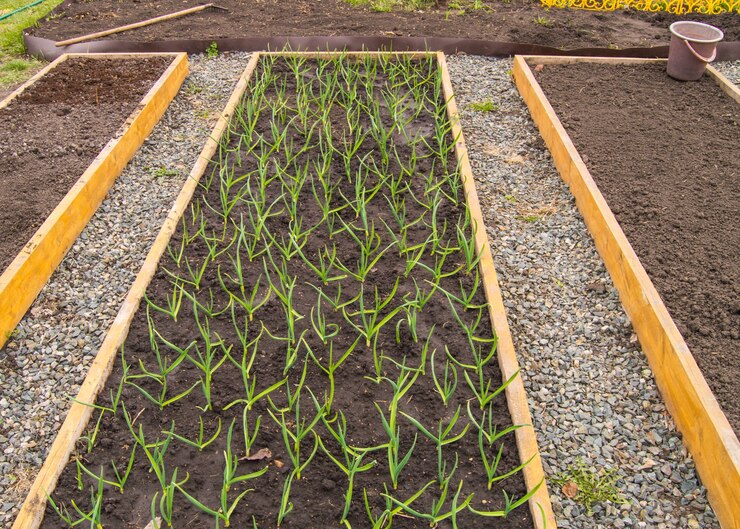
Step 3: Building Raised Beds (Optional)
- Raised beds offer several advantages, including improved drainage, warmer soil temperatures, and better weed control. They are especially beneficial for poor soil quality or uneven terrain.
- Use wood, stone, bricks, or other sturdy materials to create the frame. Aim for a height of 6-12 inches.
- Fill the raised bed with a mixture of topsoil, compost, and other organic matter. Ensure proper drainage by adding gravel or perforated pipes at the bottom.
Step 4: Creating the Planting Surface
- Level the soil: Use a rake to level the surface of the bed, creating a smooth and even planting area.
- Fine-tune the soil: For delicate seeds, use a garden fork to break up any large clumps and create a fine, crumbly texture.
- Adjust pH: If your soil test revealed a pH imbalance, add amendments like lime (for raising pH) or sulfur (for lowering pH) following the instructions on the package.
Step 5: Adding the Finishing Touches
- Mulch: Apply a layer of organic mulch like straw, wood chips, or leaves to suppress weeds, retain moisture, and regulate soil temperature.
- Watering: Before planting, give the bed a deep watering to settle the soil and ensure adequate moisture for your new plants.
- Labeling: Label your beds with the type of crop planted and the planting date. This will help you keep track of your garden and plan future plantings.
Additional Tips:
- Consider companion planting to attract beneficial insects and deter pests naturally.
- Time your bed preparation based on your planting season and local climate.
- Don’t overwork the soil: excessive tilling can damage soil structure.
- Monitor your soil’s health throughout the growing season and amend as needed.
By following these steps and adapting them to your specific needs and climate, you can prepare a thriving crop bed that nourishes your plants and rewards you with a bountiful harvest. Remember, healthy soil leads to healthy plants and delicious food!